Adding photos and sounds to journal posts
Okay, so let's put some pics and sounds in your posts! The images and sound files have to be on the internet somewhere, they cannot be on your computer!!!
Contents
The basic code is <img src="https://www.website.com/imagename.jpg">
img = image
src = source
Now if you have images on iNat that you'd like to use, you need the path to the particular photo (not to the observation).
STEP ONE - locating an image on iNat
RIGHT-CLICK on the image you want to use in your journal post, LEFT-CLICK on Copy image location. Then on your journal post, add the text <img src=" and then PASTE the location you copied from your image - in this case https://inaturalist-open-data.s3.amazonaws.com/photos/15496211/large.jpg, then type "> so it looks like this <img src="https://inaturalist-open-data.s3.amazonaws.com/photos/15496211/large.jpg">
That's one image and it will be the width of the journal post box, like so:
STEP TWO - locating an image not on iNat
To link to an image that's on the internet but not on iNat, you use the same method above. The image must be yours or you must have permission to use it and credit the photographer/illustrator (this is true for iNat pics as well, of course!!). The image has to be on the internet, not on your hard disk/computer!
STEP THREE - images in rows
Now, if you want to add, say, 3 pics in a row, you need to add a bit of extra code to stipulate the width of each pic. We'll use percent rather than specific width so that it looks good on different screen sizes (hopefully). So, the extra code is style="width:33%" which will give you 3 pics in a row. If you want 2 pics then you'd use 50% etc.
So our code for 3 pics in a row looks like this <img src="https://inaturalist-open-data.s3.amazonaws.com/photos/15496211/large.jpg" style="width:33%"> (repeated 3 times) and it looks like this (using the same pic):
Of course you'd want to use 3 different pics, so you copy the image location for each one as in Step 1, for example:
<img src="https://inaturalist-open-data.s3.amazonaws.com/photos/15496211/large.jpg" style="width:33%"><img src="https://inaturalist-open-data.s3.amazonaws.com/photos/29440856/large.jpeg" style="width:33%"><img src="https://inaturalist-open-data.s3.amazonaws.com/photos/56653928/large.jpeg" style="width:33%">
and you will end up with something like this:
STEP FOUR - adding spaces between pics in rows
Now, the pics are all 'stuck together', which is not a bad thing, but you might want to have some 'breathing space' between them, so you need to add a bit of code to the style attribute - padding:10px; - so your code for each image now looks like this - <img src=""https://inaturalist-open-data.s3.amazonaws.com/photos/15496211/large.jpg" style="width:33%; padding:10px;"> and the pics look like this:
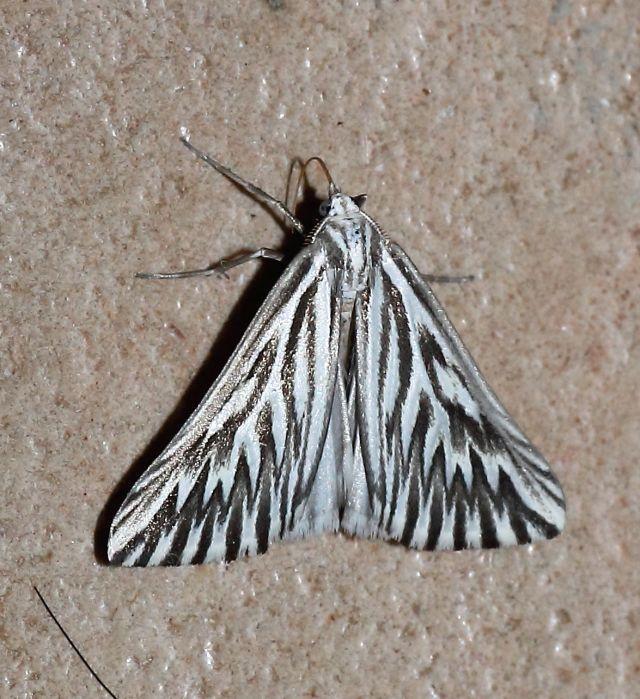
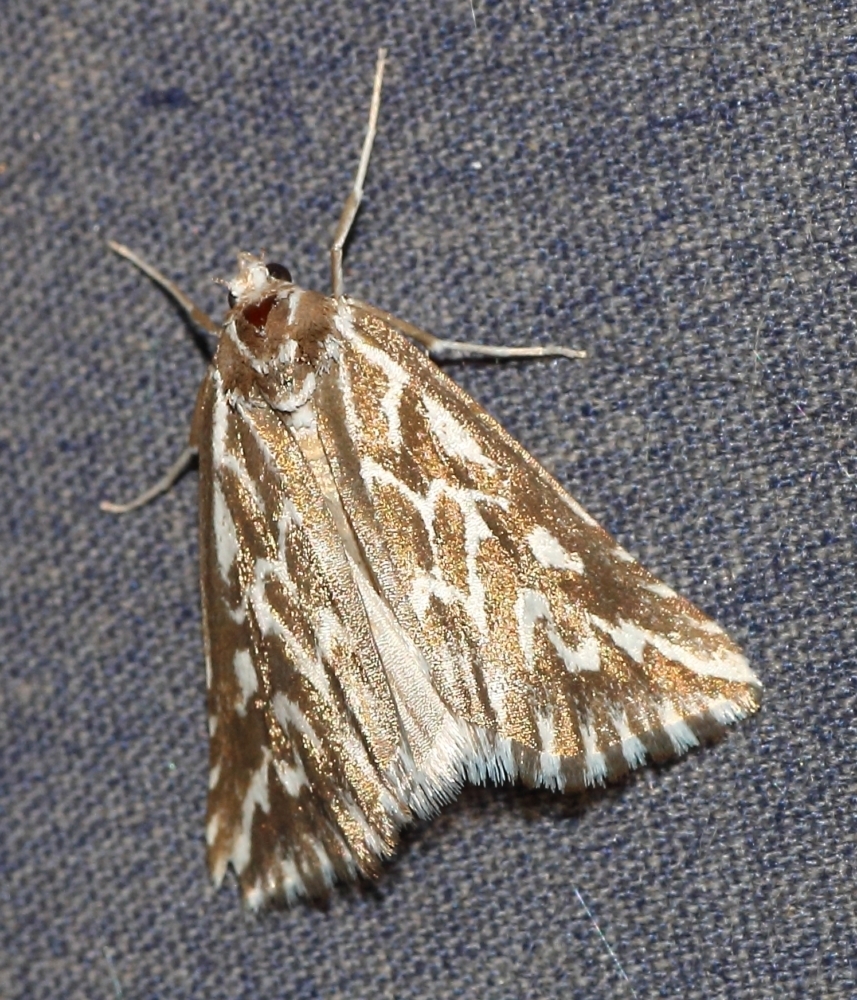
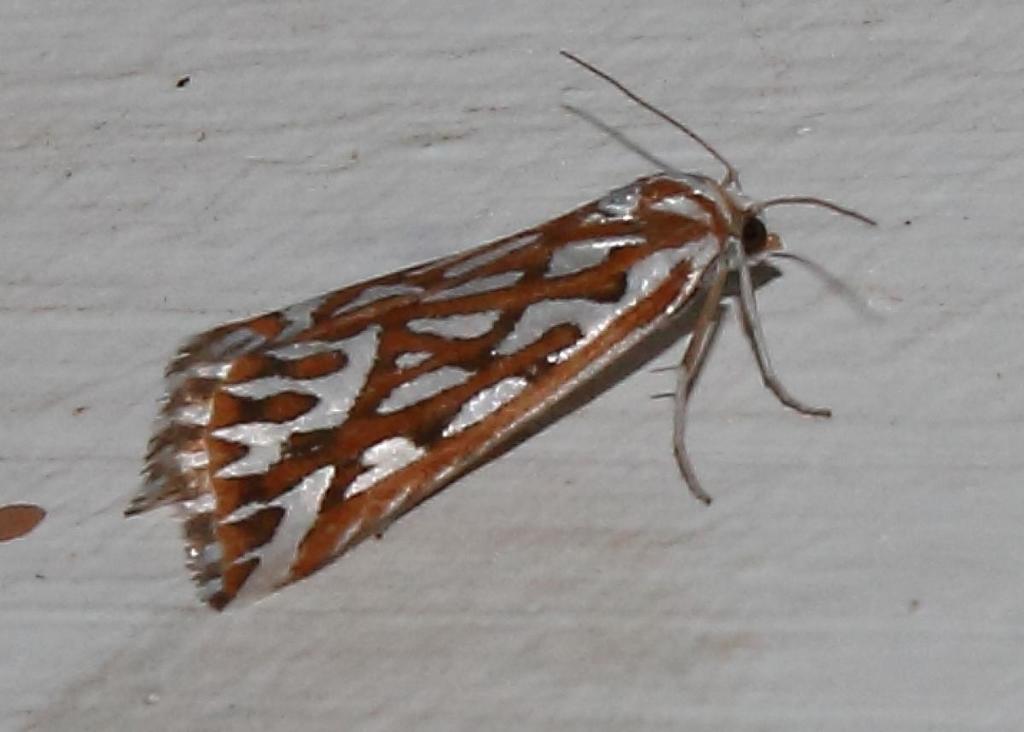
Argyrophora stramineata photo credit @karoopixie | Argyrophora arcualis photo credit @karoopixie | Argyrophora trofonia photo credit @karoopixie
You can change the width of the space between the pics as you choose. I have used 10 pixels here, but you can use less (~ 5px) or more (~ 20px). Play with it and see what works for you on the particular post you're creating.
Add captions and credits
To get this to look awesome requires a lot of styling attributes, so I'm going to suggest a simple method only.
Beneath the photos type in the captions and credits (use @ mentions for images on iNat). Use a pipe (|) or other character between image credits. And I suggest you put a line beneath to separate it from the rest of the text. To add a horizontal line just type <hr>.
STEP FIVE - Advanced resizing
(Only go here if you're feeling brave.)
In the above example the pics are all different sizes and you may want them the same height without squishing them widthways. For this you have to stipulate max-height and max-width. The max-width can remain a percentage, but the max-height has to be an actual pixel height which is where things can go a bit wobbly. So, to get the max-height you'll have to play around with pixel sizes until you get what you're looking for. Change the size and then check in PREVIEW how it's going to look. If it's not right, increase or decrease the number of pixels. For this example I have used 200px - style="max-width:33%; max-height:200px; padding:10px;" and it looks like this:
The original pics have to have a height of greater than your max-height to end up the same height on your post using this method. If the original pics are smaller, then you will end up with a row of pics of different heights anyway. This is very advanced stuff, so if you've got here, well done, and you can go and have a coffee now ;-)
You can add audio to posts too!
The basic code for adding iNat audio is:
<audio controls>

<source src="https://website.com/audio.mp3" type="audio/mpeg">

Your browser does not support the audio element.

<p>caption and credit</p>

</audio>
and the audio looks like this:
Bokmakierie duet by @karoopixie
As with images, go to the observation that you want to embed, RIGHT-CLICK on the audio slider, LEFT-CLICK on copy audio address and PASTE it into your source code.
You can embed recordings from other sites too if they allow it. On Xeno-Canto you can click the "Embed" link and it will give you the code you need to add to your post. Just copy and paste, and it will look like so:
If you have any other suggestions, questions, improvements or amendments, just let me know :-)
.


